Crown moulding adds elegance and sophistication to any home. Whether you’re enhancing a traditional space or polishing a modern interior, crown moulding serves both decorative and functional purposes. After 20 years installing crown moulding across Toronto, Vaughan, Markham, Richmond Hill, Ajax, and Pickering, we’ve walked hundreds of homeowners through this decision. But selecting the right material, style, and size can feel overwhelming if you haven’t done it before. This guide walks through everything you need to know — from materials to installation to maintenance.
Choosing the right material for your crown moulding
The material plays a major role in both durability and appearance. The three most popular choices are MDF, wood, and plaster — each with distinct trade-offs.
MDF: versatile and affordable
MDF (medium-density fiberboard) is one of the most widely used materials for crown moulding, and for good reason. It’s affordable, easy to install, and perfect for painting. Without knots or grain, MDF offers a smooth, consistent surface that produces a flawless finish.
It’s lightweight, cuts cleanly, and adheres well using a combination of glue, nails, and fasteners. When properly sealed and painted, MDF performs well in most indoor environments — even in bathrooms, outside direct wet zones like above mirrors and doors.
Wood: classic and timeless
For homeowners who want a more natural, high-end look, wood crown moulding remains the top choice. Available in species like oak, maple, and pine, wood offers rich textures, visible grain, and the flexibility to be stained or painted.
With proper care, wood crown moulding lasts for decades. Trade-offs: it’s heavier than MDF and more sensitive to humidity, so it needs proper sealing to prevent warping. Installation requires more expertise, but the result is worth it if craftsmanship and long-term durability are priorities.
Plaster: premium for custom designs
Plaster crown moulding offers unmatched elegance and intricate detailing — the preferred choice for luxury homes and historic restorations. Unlike MDF or wood, plaster doesn’t shrink or warp, holding its form indefinitely.
The trade-off is cost and complexity. Plaster requires specialized installation skills and is significantly more expensive than MDF or wood. Most homeowners reserve plaster for elaborate designs or feature areas where the budget supports a statement.
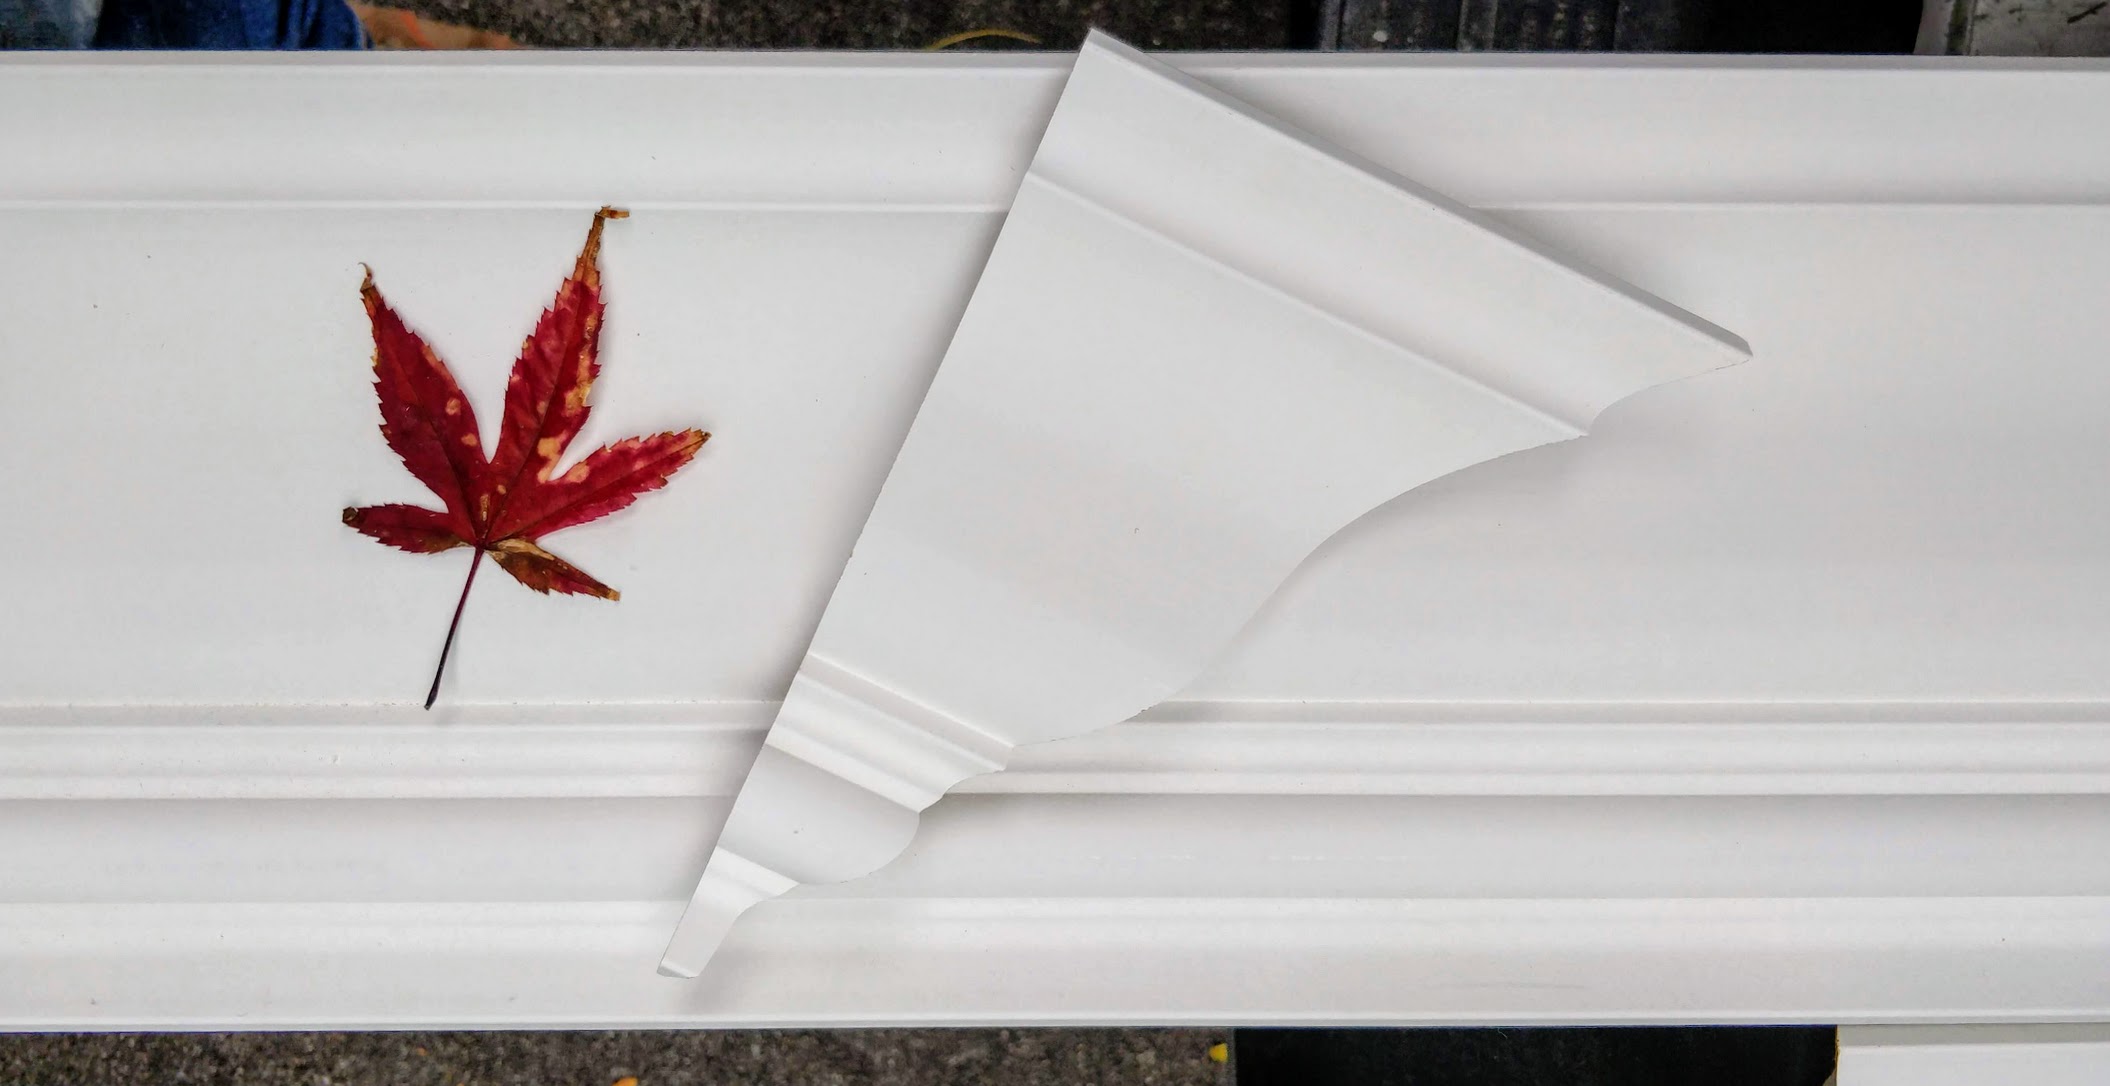
Sizing crown moulding to your ceiling
Picking the right size ensures the moulding enhances the space without overwhelming it. Ceiling height is the key variable:
- 8-foot ceilings — moulding between 4 and 5 inches keeps the proportions balanced
- 9- to 10-foot ceilings — 6 to 8 inches reads correctly for the room scale
- 12-foot ceilings or higher — 7 to 9 inches (or more) for a bold, dramatic statement
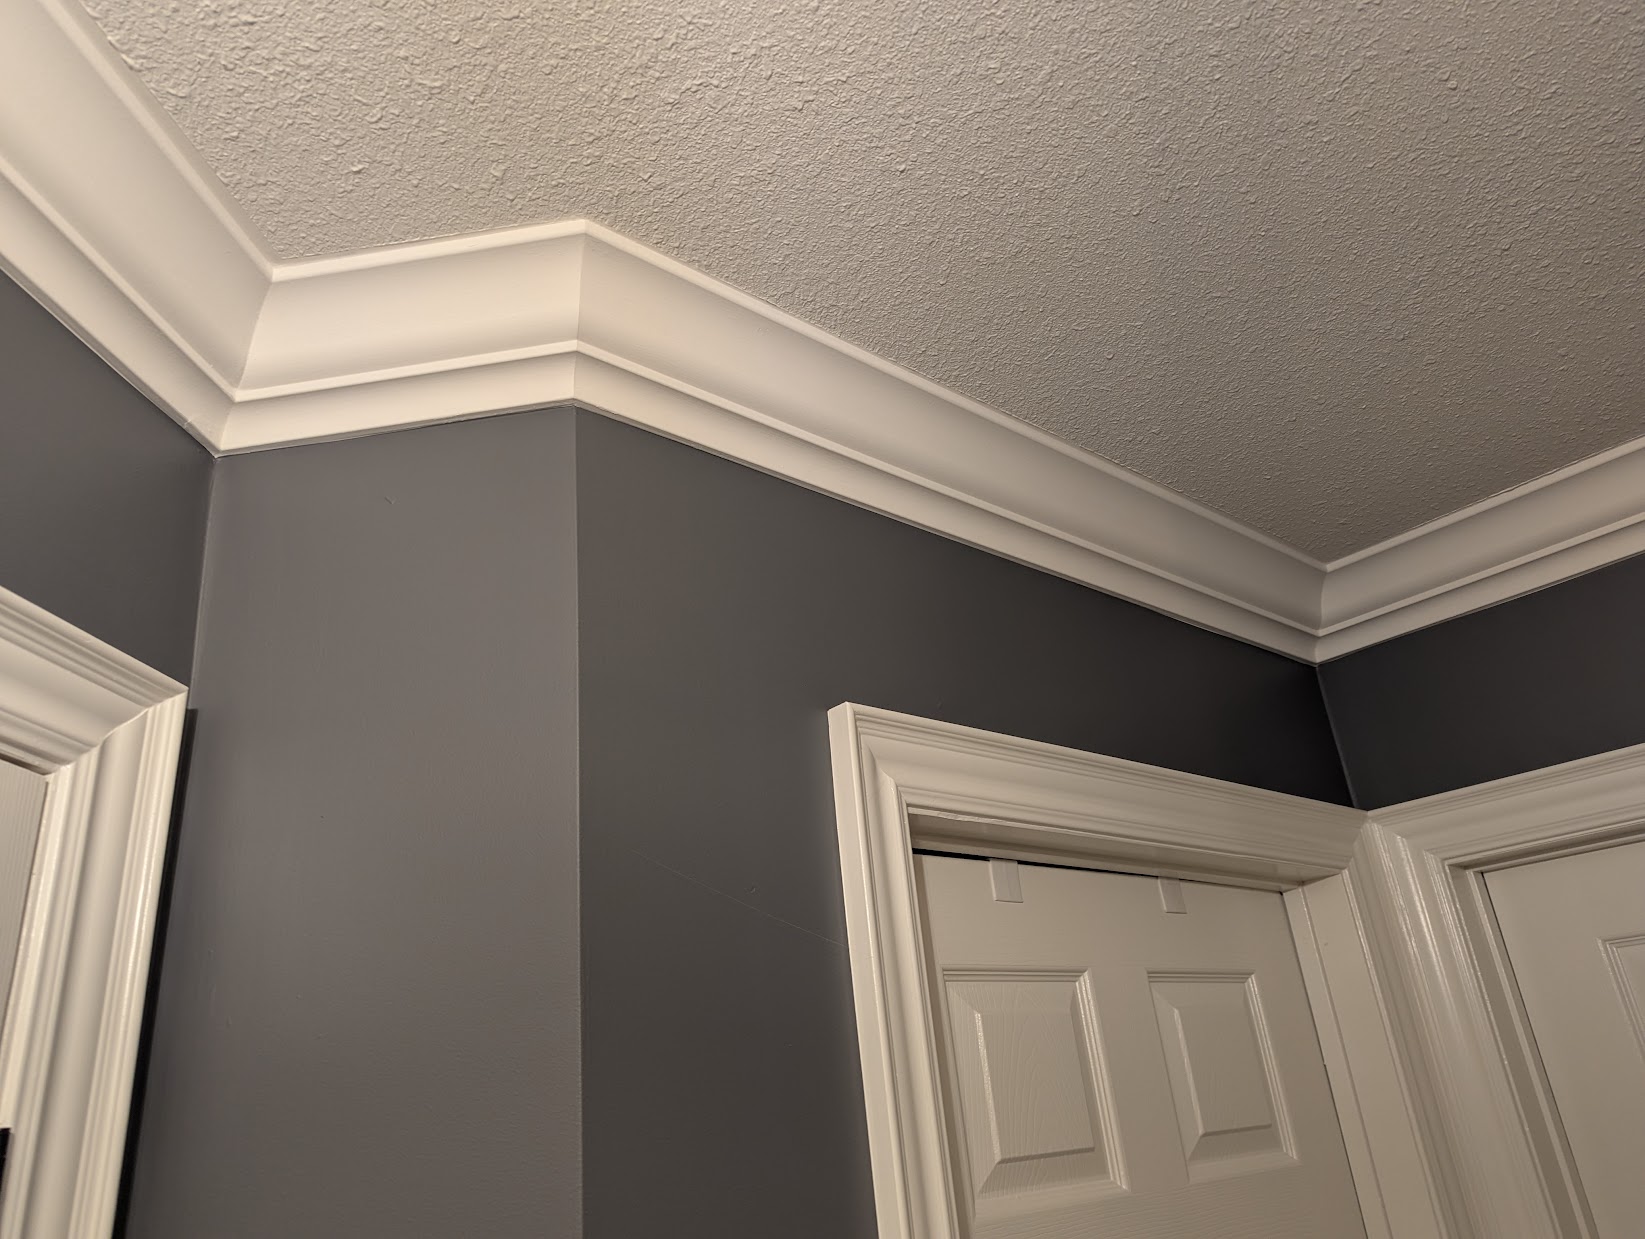
Style should match the rest of the home. Traditional interiors lean into detailed, decorative profiles. Modern homes benefit from sleek, minimalist lines. Transitional designs blend the two and tend to age well across renovations.
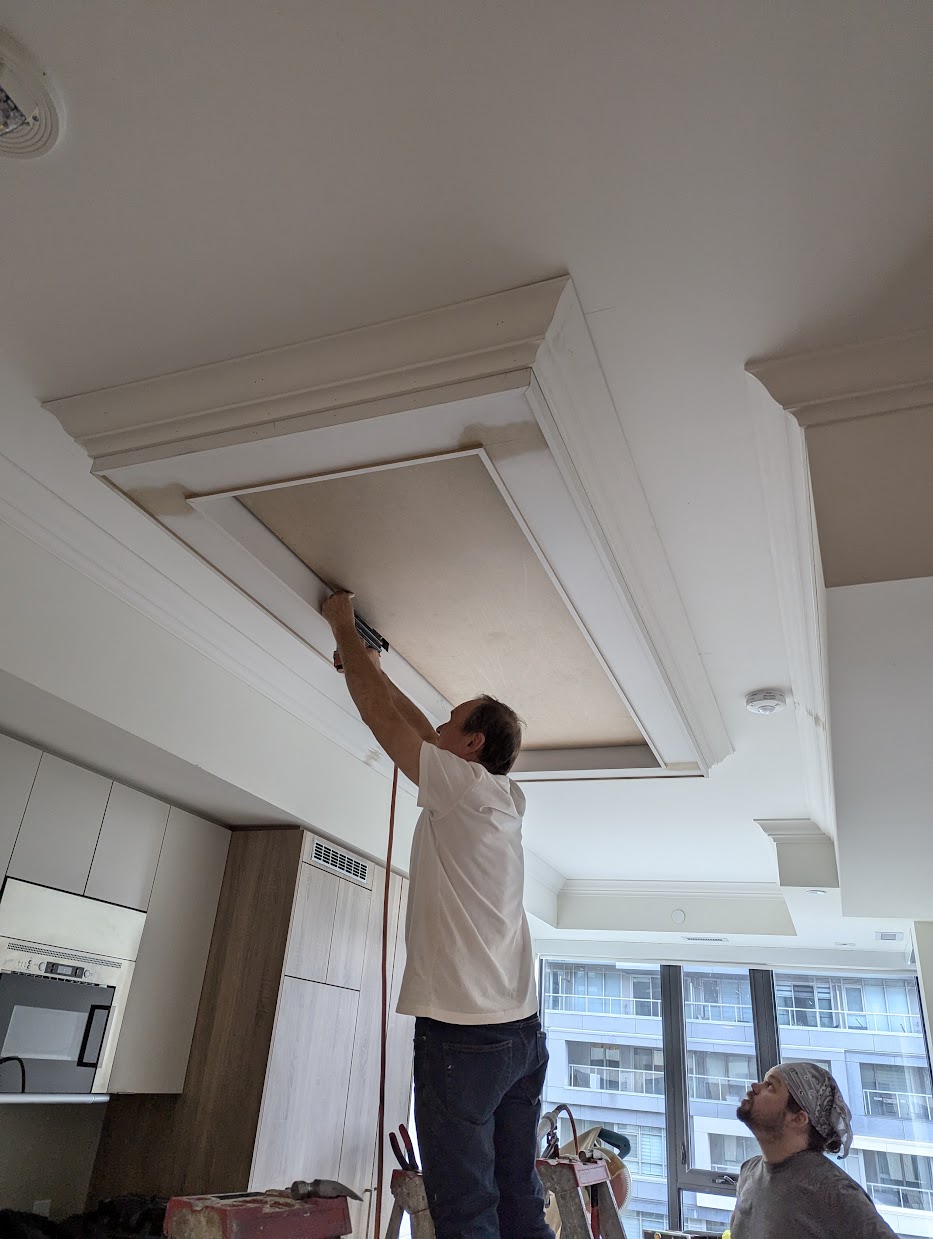
The installation process
Installing crown moulding requires precision, skill, and attention to detail. Here’s the step-by-step we follow on every job.
Step 1 — Consultation and planning
We assess your space, discuss design preferences, and recommend materials. Accurate measurements at this stage ensure the mouldings fit perfectly and align with existing trim.
Step 2 — Preparation and cutting
On installation day, all materials are cut outside — this keeps dust and debris out of your home. Floors and furniture are covered before the cutting starts.
Step 3 — Installation
Using a combination of glue and nails, each piece is secured carefully. Extra attention goes into corners and joints, because that’s where amateur installs show.
Step 4 — Finishing touches
Nail holes get filled, rough edges are sanded, and primer/paint is applied for a flawless finish. These final touches don’t just affect appearance — they also improve durability over time.
Step 5 — Final inspection and cleanup
A detailed inspection ensures the install meets our quality standard. We clean the workspace thoroughly and provide care instructions for the new moulding.
How crown moulding adds value to your home
Crown moulding does more than improve aesthetics — it increases the perceived value of your home. Buyers often read it as a sign of high-quality craftsmanship, making rooms feel more polished and refined. A small investment with outsized impact, especially in living rooms, kitchens, and entryways.
Even if you’re not planning to sell, crown moulding delivers everyday satisfaction by raising the visual baseline of your space. With so many styles available, you can choose a design that reflects your personality while improving overall appeal.
Maintenance tips for long-lasting crown moulding
- Dust regularly to prevent buildup
- MDF — maintain consistent humidity levels to avoid swelling
- Wood — apply a fresh coat of paint or sealant every few years
- Plaster — inspect for cracks and repair promptly to preserve the design integrity
With proper care, crown moulding keeps looking sharp for decades.
Current trends in crown moulding
- Minimalist profiles — clean, subtle lines that complement modern spaces
- Bold finishes — painting moulding in a contrasting color so it stands out rather than blends in
- Mixed materials — combining MDF and wood for a unique, layered effect
Ready to upgrade?
With over 20 years installing crown moulding across Toronto, Vaughan, Markham, Richmond Hill, Ajax, Pickering, Oakville, and the wider GTA, we handle every project with precision and care. Whether you choose MDF, wood, or plaster, the install is the same level of attention to detail.
Contact us for a free in-home consultation — we’ll quote the install with no obligation and bring your vision to life.
Related: 10 crown moulding ideas · Crown moulding in condominium apartments · Coffered vs waffle ceiling
Related: 10 crown moulding ideas · Choosing wainscoting styles