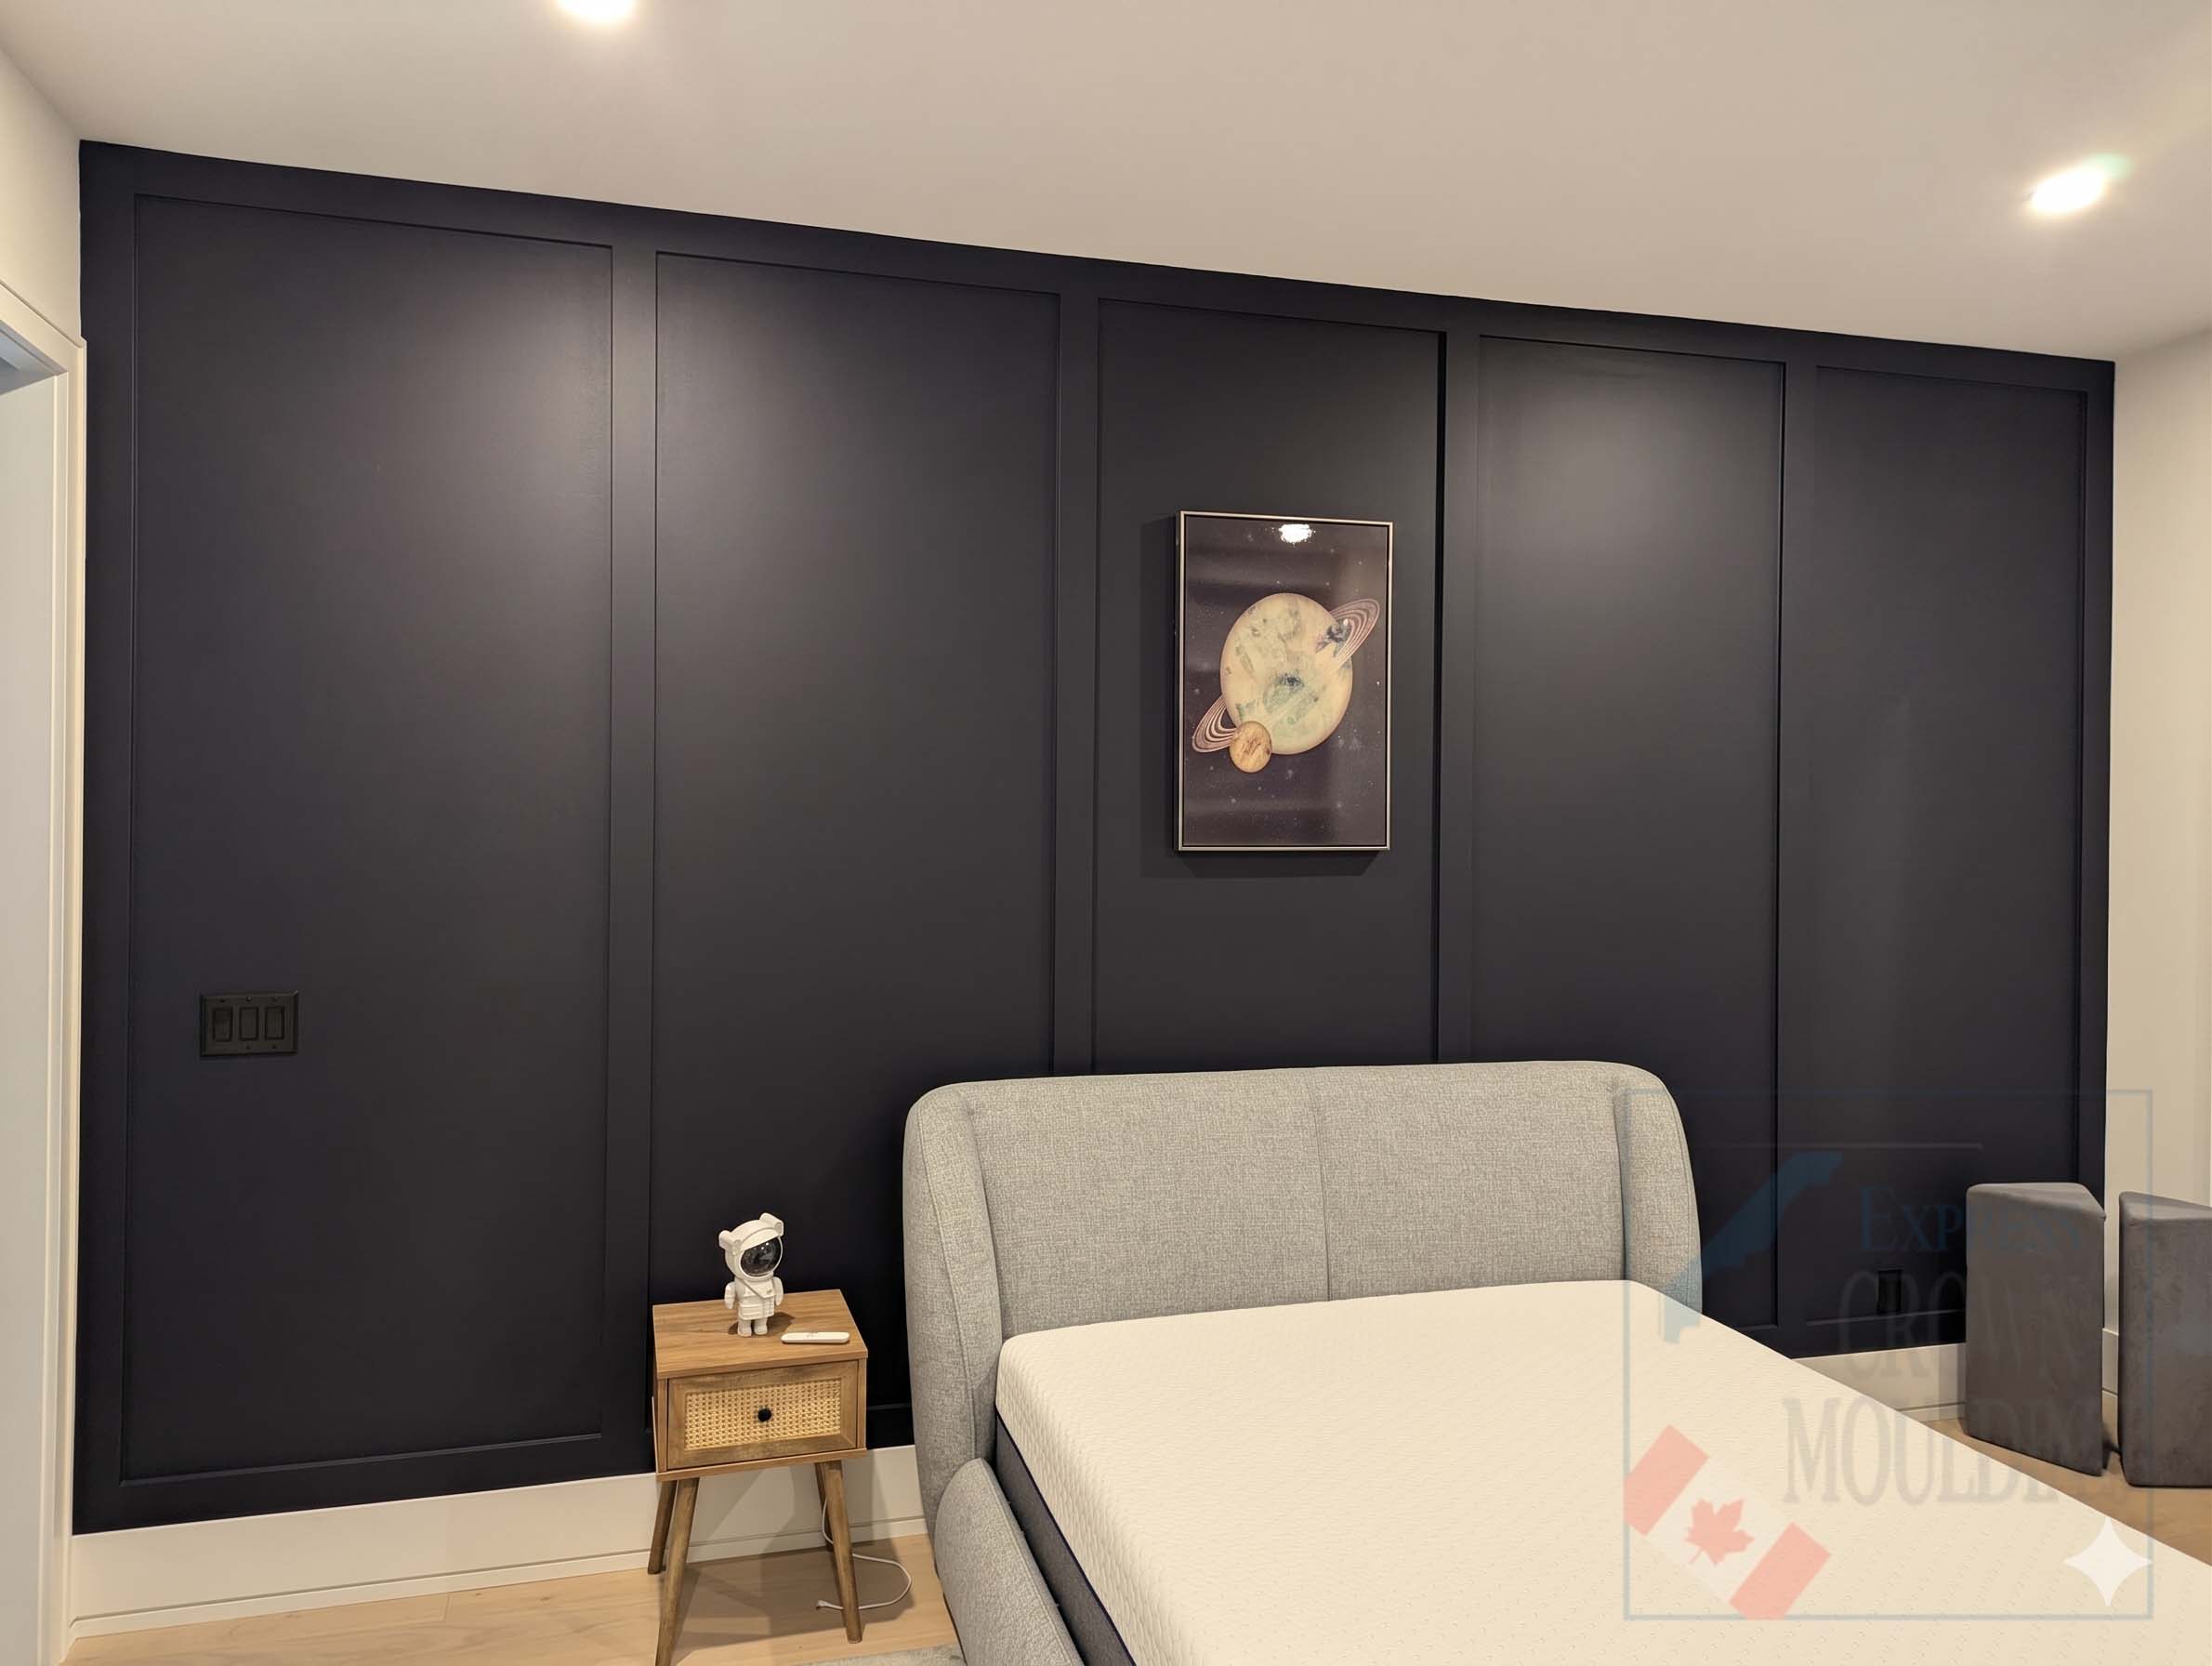
Most board and batten walls are already ruined before anyone plugs in a saw.
The battens get cut, the first one goes up tight in the corner, the rest march across the wall, and somewhere near the far end the spacing runs out. What's left is a two-inch sliver of wall standing next to a fourteen-inch gap. Once that first batten is glued and nailed, that's the wall. Nobody pulls it all off and starts over. They paint it and they look at it every day.
That's the part homeowners don't hear about when they're pricing this out. The material is cheap and the cutting is simple. The layout is the whole job.
What it actually is
A board and batten wall is a flat field with vertical battens spaced evenly across it, usually a horizontal rail across the top and the baseboard closing it out at the bottom. Sometimes it runs full height to the ceiling. Sometimes it stops at 40 or 48 inches and acts like a chair rail.
Battens are commonly 1x3 or 1x4, ripped down to whatever width suits the wall. Primed MDF is the standard for anything getting painted, and it's what most of these walls in Vaughan and Markham get built from. Poplar or primed pine if it's a hallway that takes strollers and hockey bags. PVC in a bathroom that doesn't vent properly.
None of that is the hard part.
Spacing is decided before anything is cut
Here's where it falls apart. Somebody measures a 12-foot wall, decides on eight battens, does 144 divided by 8, gets 18, and starts laying out at 18 inches from the corner.
That number is wrong twice over. It never subtracted the width of the battens themselves, and it counted battens when what you space is the gaps between them. Eight battens with one in each corner gives you seven gaps, not eight. On a 3.5-inch batten that's 28 inches of face width to pull out of the wall before you divide anything.
The way it goes on site: measure the true wall width corner to corner. Decide how many battens, including the two that land in the corners. Subtract the total batten width from the wall width. Divide what's left by the number of gaps. That's your spacing, and every batten gets laid out from a running measurement off one corner, not by hooking the tape on the last batten you nailed. Cumulative measuring is how a sixteenth of an inch turns into three-quarters by the far wall.
Then you look at the number you got. Around 12 to 18 inches between battens reads right on a standard eight-foot wall. Tighter than that starts to look busy. Much wider and it stops looking like board and batten and starts looking like somebody nailed a few sticks to the wall.
We built a free calculator for this at board and batten spacing calculator. You put in the wall width and height and it gives back the batten spacing and a cut list. It handles the arithmetic above so you're not doing fractions on a scrap of drywall, and it lets you flip the batten count up or down to see what the gap does before you commit to anything.
The three things I see go wrong
The sliver. Covered above. It comes from starting your layout at one corner and hoping. A board and batten wall is symmetrical or it's nothing, and the eye picks up a corner gap that's off by an inch from every other gap in the room.
The outlet. This one is more common than the sliver and harder to fix. The layout lands a batten dead centre on an outlet or a light switch, so now the batten either gets notched around the plate and looks like a repair, or the plate sits proud of the batten on one side and flush on the other. Neither one is right. You find the outlets before you set the spacing, not after. Usually shifting the whole field an inch and a half, or dropping one batten from the count and reflowing the gaps, moves the batten off the plate entirely and nobody ever knows there was a problem. If it can't be moved, the battens go on either side of the plate and the gap gets deliberately widened there so it reads as a decision instead of a mistake.
The rail that misses. On a wall with a window in it, the top rail wants to line up with the window stool. If the rail lands half an inch above or below it, that half inch is visible from the doorway forever. Same with door casing on a hallway wall. The rail height gets set off the trim that's already in the room, then the batten spacing gets worked out under it. Not the other way around.
What it costs
Honest answer: it depends on the wall, and anyone quoting you a per-wall number over the phone hasn't seen the wall.
A single feature wall in a bedroom is a different job from a two-storey stairwell with a rake to cut. Material choice moves it. Primed MDF is the low end, poplar and PVC cost more. Height matters, because anything above eight feet means staging and longer stock. And paint is often the biggest single variable, since a properly finished board and batten wall means caulking every batten edge, filling every nail hole, priming and putting on two coats. That's a full day of finishing on its own, and whether it's in the number or not changes the price substantially.
For a typical single accent wall in a GTA home, most jobs land somewhere in the low hundreds to a few thousand depending on all of the above. That's a range wide enough to be nearly useless, which is exactly why we measure the wall before we give a number.

If you'd rather not do it yourself
The layout is genuinely the difficult part, and it's the part that can't be undone. If you want to work it out yourself, the calculator will get you a clean set of numbers and a cut list.
We install board and batten and accent walls across Toronto and the GTA, and we've been doing trim carpentry here for twenty years. If you'd like us to measure the wall and give you a real number, get in touch.